After spending a weekend in Bellevue, we returned this week
to see visible progress. The lower level
and main floor are all framed in, plumbed and the slab prepared with
insulation, structural and in-floor heating.
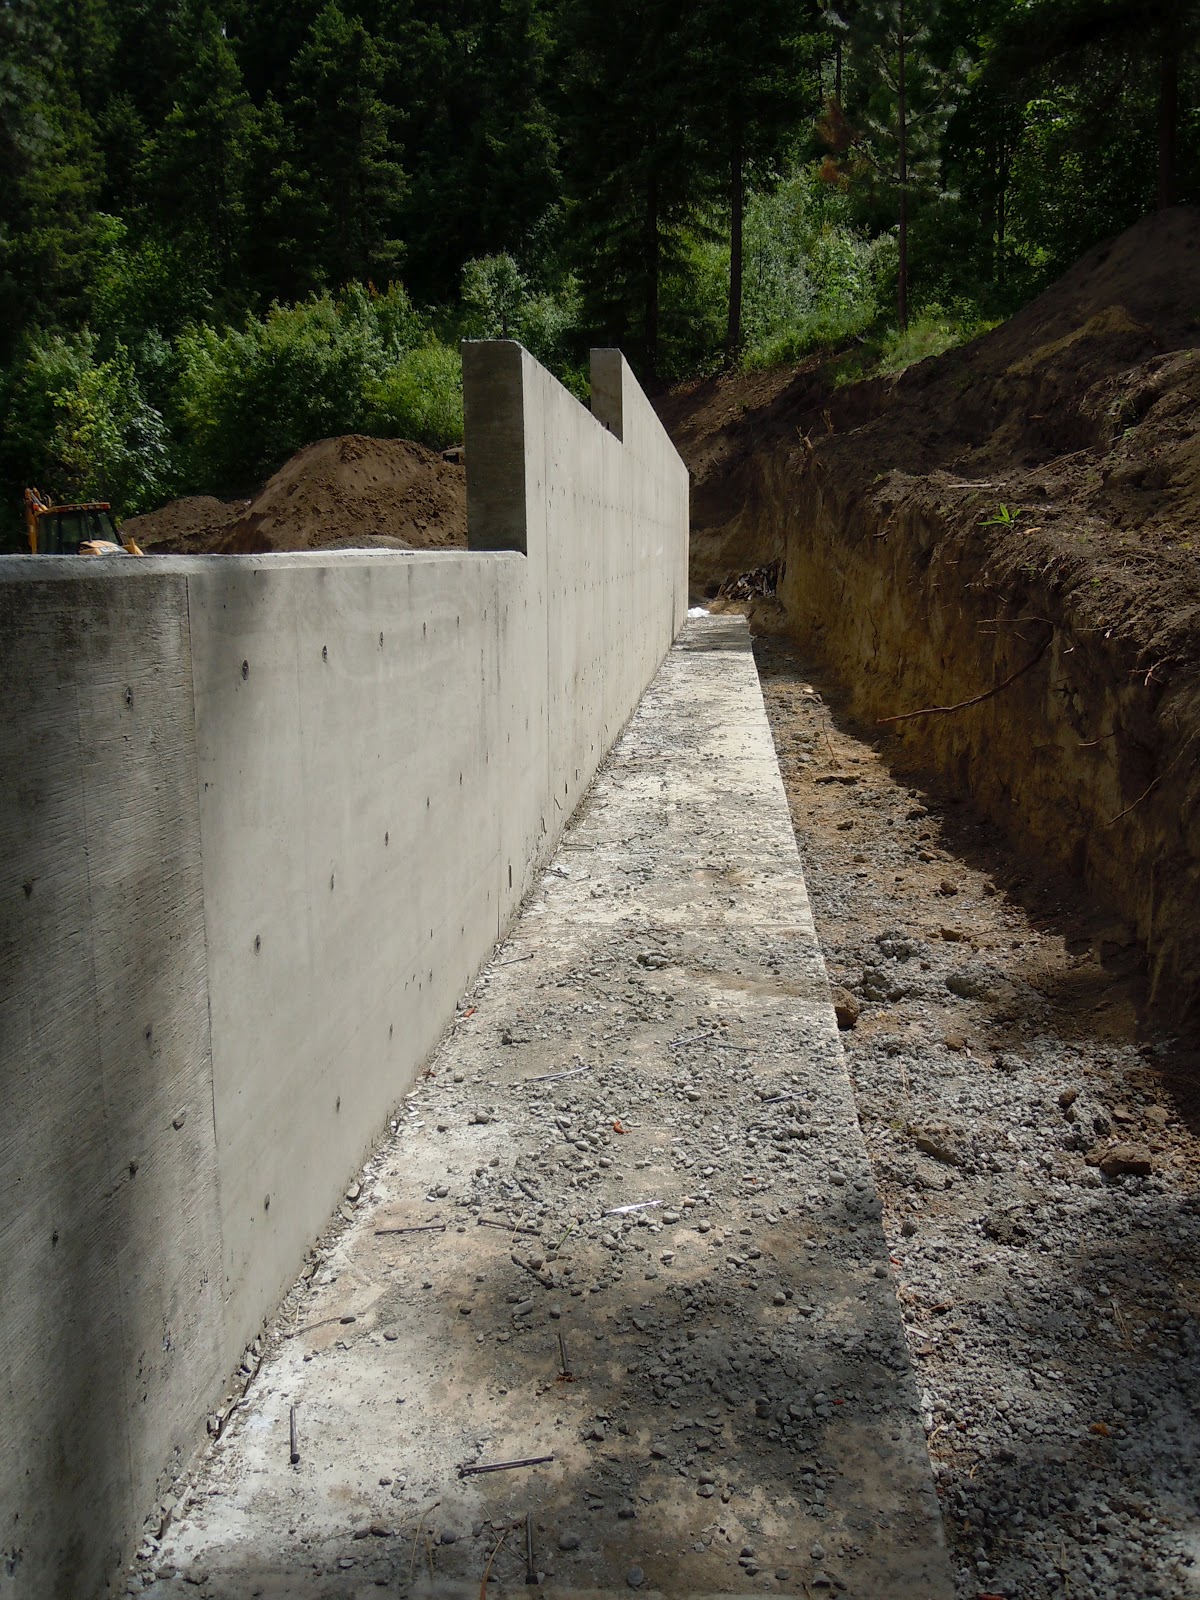
Some of the backfill is done, and foundation forming is underway for the
upper story, where it projects behind the main retaining wall at the back of
the main level.

Meetings we had the week before last yielded decisions on
the façade rock and the exterior painting scheme. Here it is – hard to see, perhaps, but
basically black semi-transparent stain on the body, Sierra bronze window mullions and a bronze roof, blue-black window/door trim, clear stained peeler poles/beams/soffits, and this lovely Montana stone for around the base and the retaining walls.
 |
| We didn't like any of these. Too red! |
Unfortunately, we were unable to decide on the finish for
the concrete floors. There are several
choices for color and textural finish.
We are going with an acid-washed finish; they apply muriatic acid to the
floors which opens them up and delivers whatever pigment you choose. There is a brochure with a dozen colors. But we visited a floor nearby and found it
didn’t look at all like the photos. So
Nacho agreed to make some samples for us; this delayed the pour by a week, but
we felt it was worth it to get it right.
Here are the samples Nacho made for us.
 |
| 1/3 the pigment, not really this red |
Yesterday we picked the one in the right corner:
1/3 the normal amount of pigment and an acid wash to give the floors a little
texture. It looks pretty yellow in this
photo (depending on your monitor), but we felt it would nicely complement the
materials we’ve chosen thus far. Plus,
with the neighbor’s dogs walking over the samples, we were able to get a sense
for how each color would handle dust and muddy footprints – this color is just
about the same as the mud!
Building a home with structural concrete floors is new to
us. Unlike conventional framing, all of
the locations for water and electrical supply, as well as drains and heating
controls, have to be identified up front.
We learned this the hard way. We
haven’t yet settled on the kitchen layout, and learned the hard way what
happens when you don’t ask those nagging little questions that linger in
the back of your mind. Luckily, we
finally asked Leo how he knew where the kitchen sink drain was going if we hadn’t
finalized the layout of the island yet.
Our plumber Dean saved the day and isn’t even going to charge us to move
the drain pipe over a foot, even though he had to come out and dig it up to
move it.
 The floors are also structural; framing will be done right on top of these floors. Here you can see the various water and power supply lines, and the drains are all in there, too. This view is looking towards our master bedroom.
Here are various views of the floors going down last Friday, June 29. The pour lasted about 2 1/2 hours, and required three concrete trucks worth of material. It was like a dance, these guys are so good. No wasted motion.

 |
| It's hand-troweled after a couple of hours. |
 |
| Nacho is taking down the floor for our shower here. |
 |
| The kitchen/dining area; there's the sink in the right spot! |
 |
| Pour complete, concrete curing. Looking across the great room to the view. |
This coming week is the 4th of July, and not much will
happen, other than Nacho applying the color to the floors this Friday. Can’t wait to see what they look like! Framing is scheduled to start June 9, putting
us about 2 weeks behind.
Next Post: Framing Begins!


